Wednesday, April 3, 2019

Project Update: Not much left on the to-list! & Before and After

I can't believe there are less than ten items on the to-do list!! The end is in sight! Anyway, I thought it was time to share some before and after pictures. The upstairs bedrooms and bath are completely done, so we will start there!

I don't have a whole lot of before pictures of the back bedroom (a.k.a. the purple bedroom.) And honestly it wasn't that scary to begin with. It just needed a lot of paint!


No more purple walls and no more weird glue on the floor!


This picture captures the room the best. The door to the right opens onto a very small balcony. It is not my favorite. I think originally there was a window there and they must of put the door in when there was an enclosed porch below. Now there is just a deck.


I love these hooks! There are in all the closets and are original. Simple and perfect.

This is the front bedroom before. No closet doors and the floors were pretty rough. Aren't you glad I got rid of those yellowing switch and outlet covers?


I had almost forgotten about the awnings! So much brighter without them!


 So much brighter! And the floor came out quite good, considering all the gauges in them. This room has two closets, one on either side.


 This closet is quite deep, a good amount of storage here!

This is the other closet, a cute little square! But still a nice size.


And last is the middle bedroom. Another awning taken down, more glue under the carpet and a closet door restored to it's right place.


The middle bedroom has the largest closet, it is practically a mini bedroom!


I will be back later with more before and after photos! Now to go get those last to-do list things done!

Tuesday, March 19, 2019

Transitions: A How-To

Did you know the little metal or wood strip that joins two different types of flooring is called a transition? Neither did I until started looking for one for the Brick House. I always thought they were called thresholds, but that is the name for exterior doorways.
You never know what mind bender an old house will throw at you! It might be how to fix electrical so it will be functional or it might be dodgy plumbing that can't be fixed without tearing down the house or it might be something simple like a too tall layer of tile.

 Most transition strips are made for a half inch difference in floor heights. The kitchen floor tile was laid on top of a layer of cement board (a good thing) which is on top of a layer of thin plywood and all that is on top of the original wood floors! That makes the total difference between the tile kitchen floor and the dining room a little shy of one and one half inches!
(I really don't mind that all theses layer on top of the old floors, I have plans of one day pulling it all up and restoring the wood floors, but in the mean time that is quite a ledge to whack ones foot on!)

 I bought at lest five different transitions. Mandy and I looked at every single one in every single store we happened to be in. I ordered from Amazon, but nothing worked. 
I finally gave in and moved on to how to make a layered transition look better. When we were looking at all the transitions I came across one that matched the tile perfectly. So I bought them and a length of simple ranch style window molding.

 The first step was of course cutting the wooden molding to fit and then painting it to match the metal transition strip. Then I drilled holes into the wood trim for the plastic screws of the metal strip. ( I was really excited to not have to drill into my hardwood floors!) Once everything looked good, I nailed the wood trim to the floors with a couple of trim nails.

 This nest step took a trial and error to get it right! The plastic screws needed to be trimmed so they could be pushed in to the right height. I happened to have a pair of tin snips handy and they worked perfectly! I then slid the plastic screws into the slot on the back of the metal transition (this worked a lot better then placing the screws in the hole and then trying to slide the strip on, which is how the directions told you to do it!).

I placed the metal strip over the wood trim and starting at one end, pushed the plastic screw into the holes. Sliding the screw along so the lined up with holes. Once all the screw were started in their proper holes, I took a hammer and pounded the strip into place. And just in case, I used a paint stirrer between the metal and the hammer so the paint wouldn't get dinged up!

And done! So much better! 
I am so glad I got this figured out. It was beginning to worry me! Now on to the next challenge!

What about you, an old house thrown you any mind benders?

Tuesday, March 12, 2019

Progress Report: Bathroom and Details

Has it really been almost a month since I last posted a progress report?!? Goodness! We are chipping away at all the fussy stuff. Like sprucing up the bathtub with new caulk, new shower head, overflow plate and a shower curtain. I can't believe how cozy and finished it now looks! One room to check off the list!

 It is amazing how many little things there are to do. Tiny things not worth mentioning, but amazingly they take up a lot of time! After touching up a bit of paint it took me by surprise that the front bedroom was officially DONE! 

The back bedroom is so close. I added a closet pole in the closet and the threshold for the deck door needs to be fixed, then it too will be declared done! 

Have I ever showed you the middle bedroom closet? It is huge! Here I have half the closet pole up and have since finished putting up the other half. I also discovered I had forgotten to put a second coat of shellac on the floors. But that is all done and it is now declared finished!

 I also got the open shelves in the kitchen finished and up. I have been longing to see how they look and I love them! I am so glad at the last minute Mandy suggested getting oak boards for the shelves instead of trying to stain pine to match. Made it much easier! This is the close up pretty view.....

 ….And this is the "real" messy view! Lol! Because all the other rooms have freshly finished floors, the kitchen has become the work room, storage and tool room. I am so temped to clean it all up and take all the tools home. But there are still a few things to do!

We just got back from visiting my other sister Becky up north. It was so much fun (and so much talking!), but I am glad to be back and ready to get things done! 
I took this picture on Sunday afternoon as we were pulling into the driveway, it is amazing at how much snow as melted since then! Dare we hope Spring is just around the corner??

Friday, February 15, 2019

Progress Report: Painted Stairs

 I had forgotten I hadn't shared these stair pictures yet. Sometimes life goes too fast for me! Lol! Anyway, Mandy came to help me get these done last week and I am so excited with how they turned out! I was kind of sad to paint the stairs until I realized I didn't have to paint them all one color. I love the look of stained wood treads and painted white kick plates, so that is what I tried to mimic. As you can see the treads were already half painted multiple colors with plenty of dings and dents.

 In these pictures the kick plates are only primed, but they have already been painted and look so fresh now! The paint is actually the same color that I used on the front porch which makes it nice. I wanted a warm brown that wouldn't clash with the newel post or banister. It always makes us hungry for dark chocolate! Lol!
We also got the outlets changed out in the kitchen, the bathtub caulked and a towel rack hung in the bathroom. A lot of little projects that take time, but each one gets up closer to the finish line!


Tuesday, February 5, 2019

An Old Fashioned Wood Floor Tutorial


With all the crazy weather last week nothing got done at the Brick House. Other than running by a couple of times to check on pipes, I stayed home and kept warm! So no progress to report. But I do have my tutorial on shellacking floors. I am sure there is multiple different ways to do each step, but this is the way I do it. I purchased my shellac from Shellac.net. Their website is also chock full of useful information!

This was the first time I used Shellac Buttons and I must say it was easy to work with! I love the way the finish turned out and how hard it already is. Very different from the pre-mixed shellac. Read THIS to learn why button shellac is harder and better for floors.

I bought a five pound bag of buttons, which is a lot of shellac! To make it easier to mix I pre-weighed the buttons into 1/2 pound bags.

 Make the Shellac.
Measure your denatured alcohol. I bought a bunch of paint mixing buckets and lids. It made it so easy to measure the right amount of alcohol! Since I was mixing a 2-pound cut; I needed 1 quart per 1/2 pound of shellac. (A pound cut refers to how thick one makes the shellac. A 2 pound cut is a standard starting point. It is really personal preference and project preference. Shellac.net has a handy chart HERE.)

Crush the shellac buttons. My favorite tool of choice was a large adjustable wrench! A hammer works good too. I tried to at lest break the buttons into quarters. (It makes the shellac melt a little quicker to have the buttons crushed.)

Add shellac and mix well. This is where an extra paint stirrer comes in handy! Place your container out of the direct sunlight in a warmish place. Since it was cold out, I put my containers on the warm radiators.

Wait and Stir. If you happen to be nearby to your shellac containers you can stir every hour or two. If you happen to only be nearby once or twice a day, that works too! It takes a little longer to stir it up and a little longer for all the shellac to melt.

24 hours after. The one on the right has not been stirred, the one on the left has.

3 days after. Opps! Missed a day stirring. The shellac was a large gooey mass on the bottom. With a bit of stirring most of it broke up. You can see it is looking thicker!

While you are waiting for your shellac to melt, I hope you are prepping your floors! I scrubbed mine down with denatured alcohol and a green scrubby sponge. Depending on the condition of your floors, you just might want to wipe them down with denatured alcohol and a rag.

5 days after. Nice and thick and no more clumps on the bottom. Now we are ready to strain!

Tip: If you have a couple of buckets of shellac going at the same time you might want to label if the are Dirty=unstrained or Clean=strained.

 I wasn't sure if I needed to strain at first, but when I ordered the buttons I also received a couple of paint strainers. Once you strain a batch you will see why it is essential! I was sent fine paint strainers with 190 microns, when I ordered more on Amazon that is what I looked for.

 Strain shellac. Pour shellac into a paint strainer over a "clean" bucket.

 When the shellac got clogged up I used a paint stirrer to scrap the crud off the filter area. Sometimes I used two filters per bucket and sometimes for top coats I strained it twice.

Look at all the debris! You don't want that in your floors!

Shellac those floors! Now you are finally ready to shellac! It dries very quickly so work in small areas at a time. I would usually start in the back corner of a room and work to the opposite end in a 6-8 floor board wide swath. Then I would crawl back to the beginning and do another swath. The living and dining room I treated like two rooms and stopped in the middle. If you look very very close there is a line in the shellac (With the second coat I stopped about 6 longer so the line wouldn't be in the same place for both coats.), but I knew this when I started and it doesn't bother me.
I used just about every type of brush on these floors and really couldn't tell much difference in the finish. The one type I didn't try was a lamb's wool applicator. I have used this in the past and did not get the knack. Too many drips and lines. Foam sponge brushes work fine, but it goes on thin. A chip brush works good and I used it for the majority of the floors. I felt like I could get it on quite thick for the first coat, which I liked. Then I invested in an expensive natural hair brush which I used for the top coat downstairs. It put the shellac on a little tiny bit thinner than the chip brush which was fine for a top coat.

 For all the floors in the house I put two 2-pound coats down. If I had more time and more shellac I might have put three coats down and thinned the top one more. There are visible brush strokes in some areas if you look close. But I think it just adds to the beauty! And a super smooth finish was not my main goal, I just wanted to bring these old floors back to life and make them the look the best they could!


Friday, February 1, 2019

Old Radiators, New PEX


Since most of us have spent the week hunkered down trying to stay warm, let's talk about furnaces! Hot water furnaces to be exact.
I have always thought my little house would be perfect if it only had hot water heat, but alas it has forced air. I did think briefly about changing it when we first moved in, but there were so many things that still needed work or finishing. But this spring in the middle of an allergy attack I texted my brother and said I need hydronic heat!!
Yes, after living in the little cottage for five years I finally figured out I am allergic to whatever the furnace blows out! I don't know if it is just old dirt, cat hair, dog dander or what, but it turns me into a basket case. I am no stranger to allergies as at the age of four we discovered I was allergic to food dye. Hives are a weekly occurrence, sniffy nose, itchy eyes, scratchy throat are common. But I have never never felt so horrible as when the furnace/air conditioner blows. I could hardly drag myself out of bed I was so tired, I constantly felt like I had the flu and couldn't eat, I couldn't sleep or think. (I had a lot more symptoms, but you get the idea.) 
This summer we tried an experiment and did not turn on the AC; instead we invested in two window units. In two months I had all my energy back and was ready to tackle the Brick House head on!

 This fall when it started getting chilly we were in of a bit of quandary. Wisconsin gets cold! And we knew a ton of space heaters wasn't going to work, though it got us through the fall months. So my brother and I hatched a plan!
This past Spring I found a houseful of radiators on Craig's List. They were from a smallish bungalow like mine and most of radiators would work for my house. I did end up purchasing two more for the downstairs bedrooms as there wasn't quite enough small ones.
So we had radiators, but not a boiler. But every house has a hot water heater, right? And a hot water heater does the same thing a boiler does, heat water. Would a hot water heater be able to heat a cast iron radiator enough to heat a house? We decided to find out!

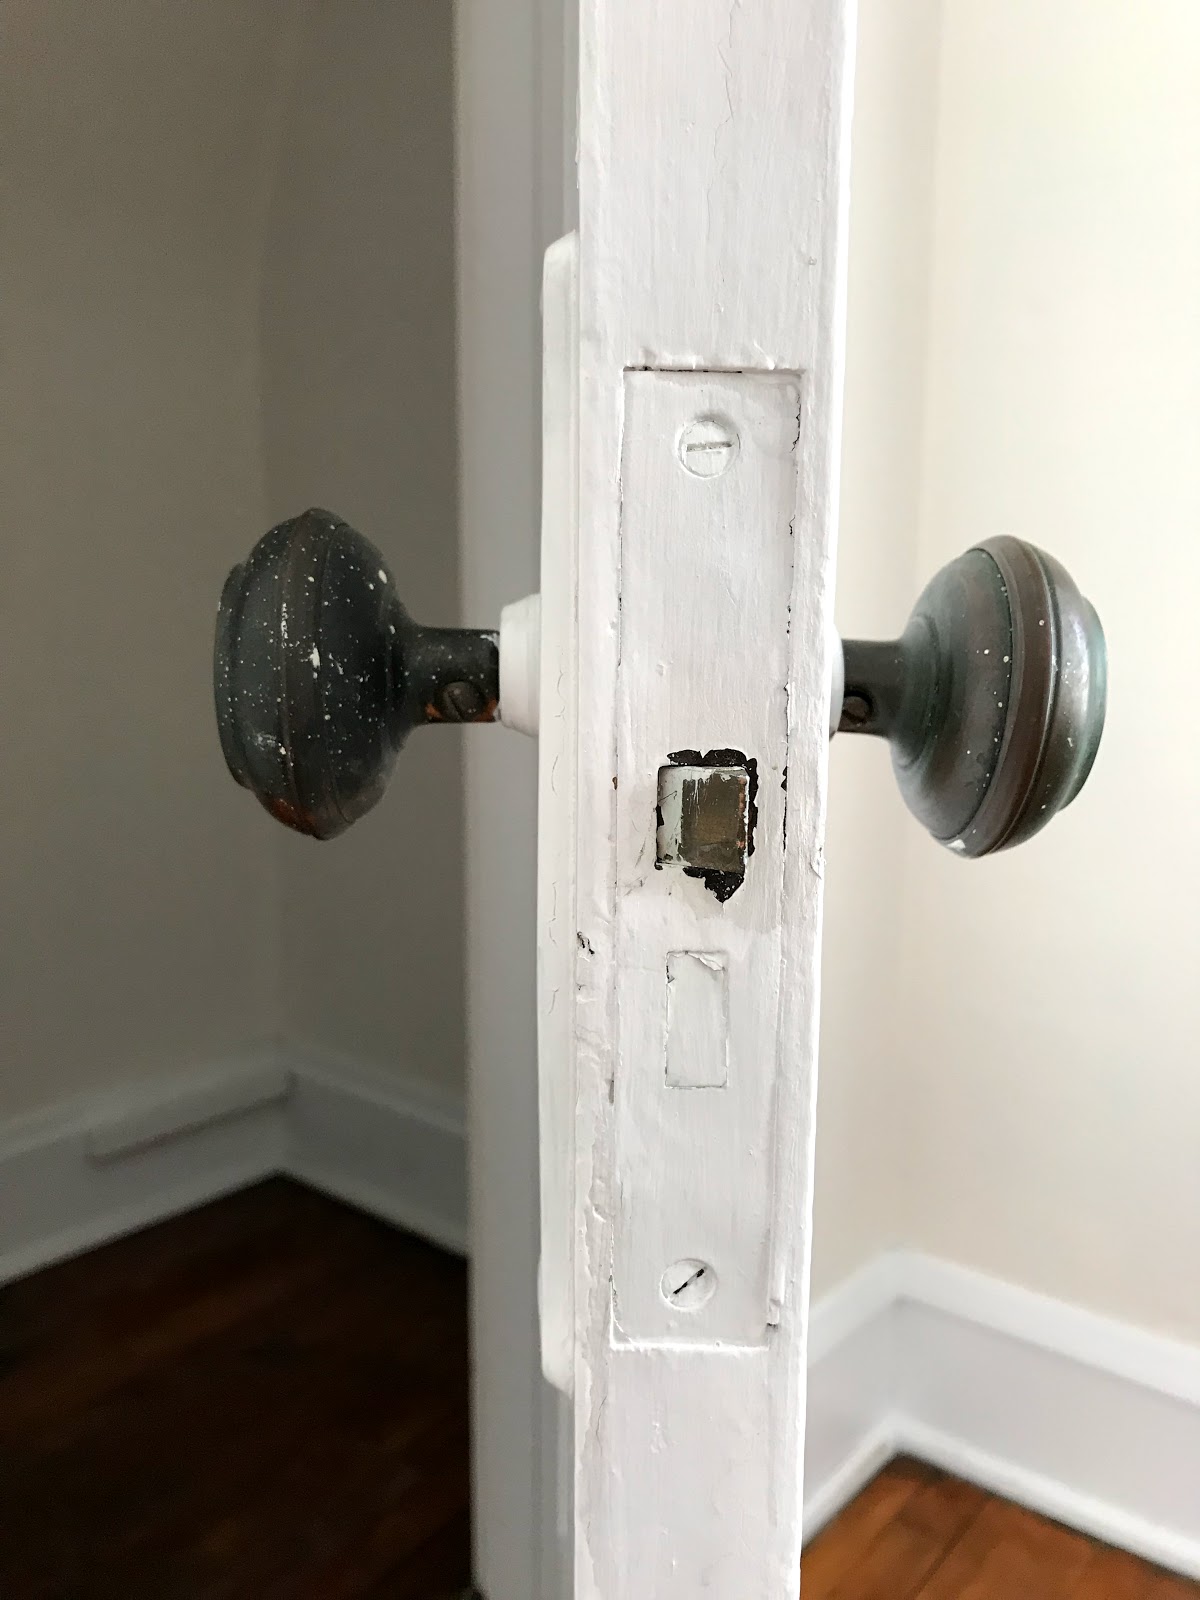
My brother also happened to have a heat transfer plate, circulator and expansion tank. The only thing I needed to buy was an additional circulator pump, PEX fittings and some copper pipe to plumb everything in. We were able to poke the PEX piping up through heat/cold air vents so everything is temporary right now. (I am still planning on putting in a real boiler this year!)
The way a hydronic system works is a boiler/hot water heater heats the water, a circulator pump pumps it through the pipes and the radiators. As the hot water goes through the radiators it heats the cast iron and since cast iron radiates heat so well the air around the radiators also get warm. The water continues around it's circuit and returns to the boiler/hot water heater to be heated again. 
My temporary system works the same, except the water from the hot water heater goes though a transfer plate which transfers the heat to water in the radiator system. In this way the water in the radiators and the water in the hot water heater stay separate and we are not washing with water that has been through a radiator. (It picks up a lot of iron and turns black! Yuck!)

Wow these old radiators really work! In a couple of minutes we could feel the warmth radiating out of them and in an hour you just wanted to snuggle up next to it! Of course it is not as even as it would be with a whole system, but it is keeping us comfortable. The bedrooms (where there is no radiators) are about 2-3 degrees cooler. We started slow and connected one radiator first. It worked great during the day, but wasn't able to keep the house a steady temp over night. The hot water heater seemed to be doing fine and not running excessively, so we connected another radiator to the system. Now the living-dining room stays a very steady temperature even during the night.
And how did our temporary system do in the artic blast? Not too bad! It couldn't quite keep up during the extreme overnight lows and would dropped down about three degrees, but it would get back up to normal temperature during the day. I think that wasn't bad for a temporary system!


 Radiators are also a mittens best friend! I don't know what it is about the radiant heat, but mittens dry in minutes and look better then ever!

So, have you ever lived in a house with hot water heat? Did you like it? Would you like to have hot water heat again? Please share, I would love to hear all about your experience! I am all about radiators and hot water heat right now!