Monday, December 14, 2020

I'll Be Home for Christmas 2020


 Merry Christmas Friends!
Since this year has been so interesting and shook us all out of our ruts, we decided to shake up our Christmas decorating too! Somehow we ended up decorating the kitchen first, that was the first stop the tub made and we just started unpacking decorations and put them up! The top of the refrigerator got the treatment this year! Most of the cone trees ended up here along with lights and the Merry Christmas sign. It is so so cute! We decided to just go big as this is the only time we ever clear off the top of the refrigerator completely!


Since we knew we were going to go light with Shiny Brites on the tree, I made sure we have a good dose in the kitchen!


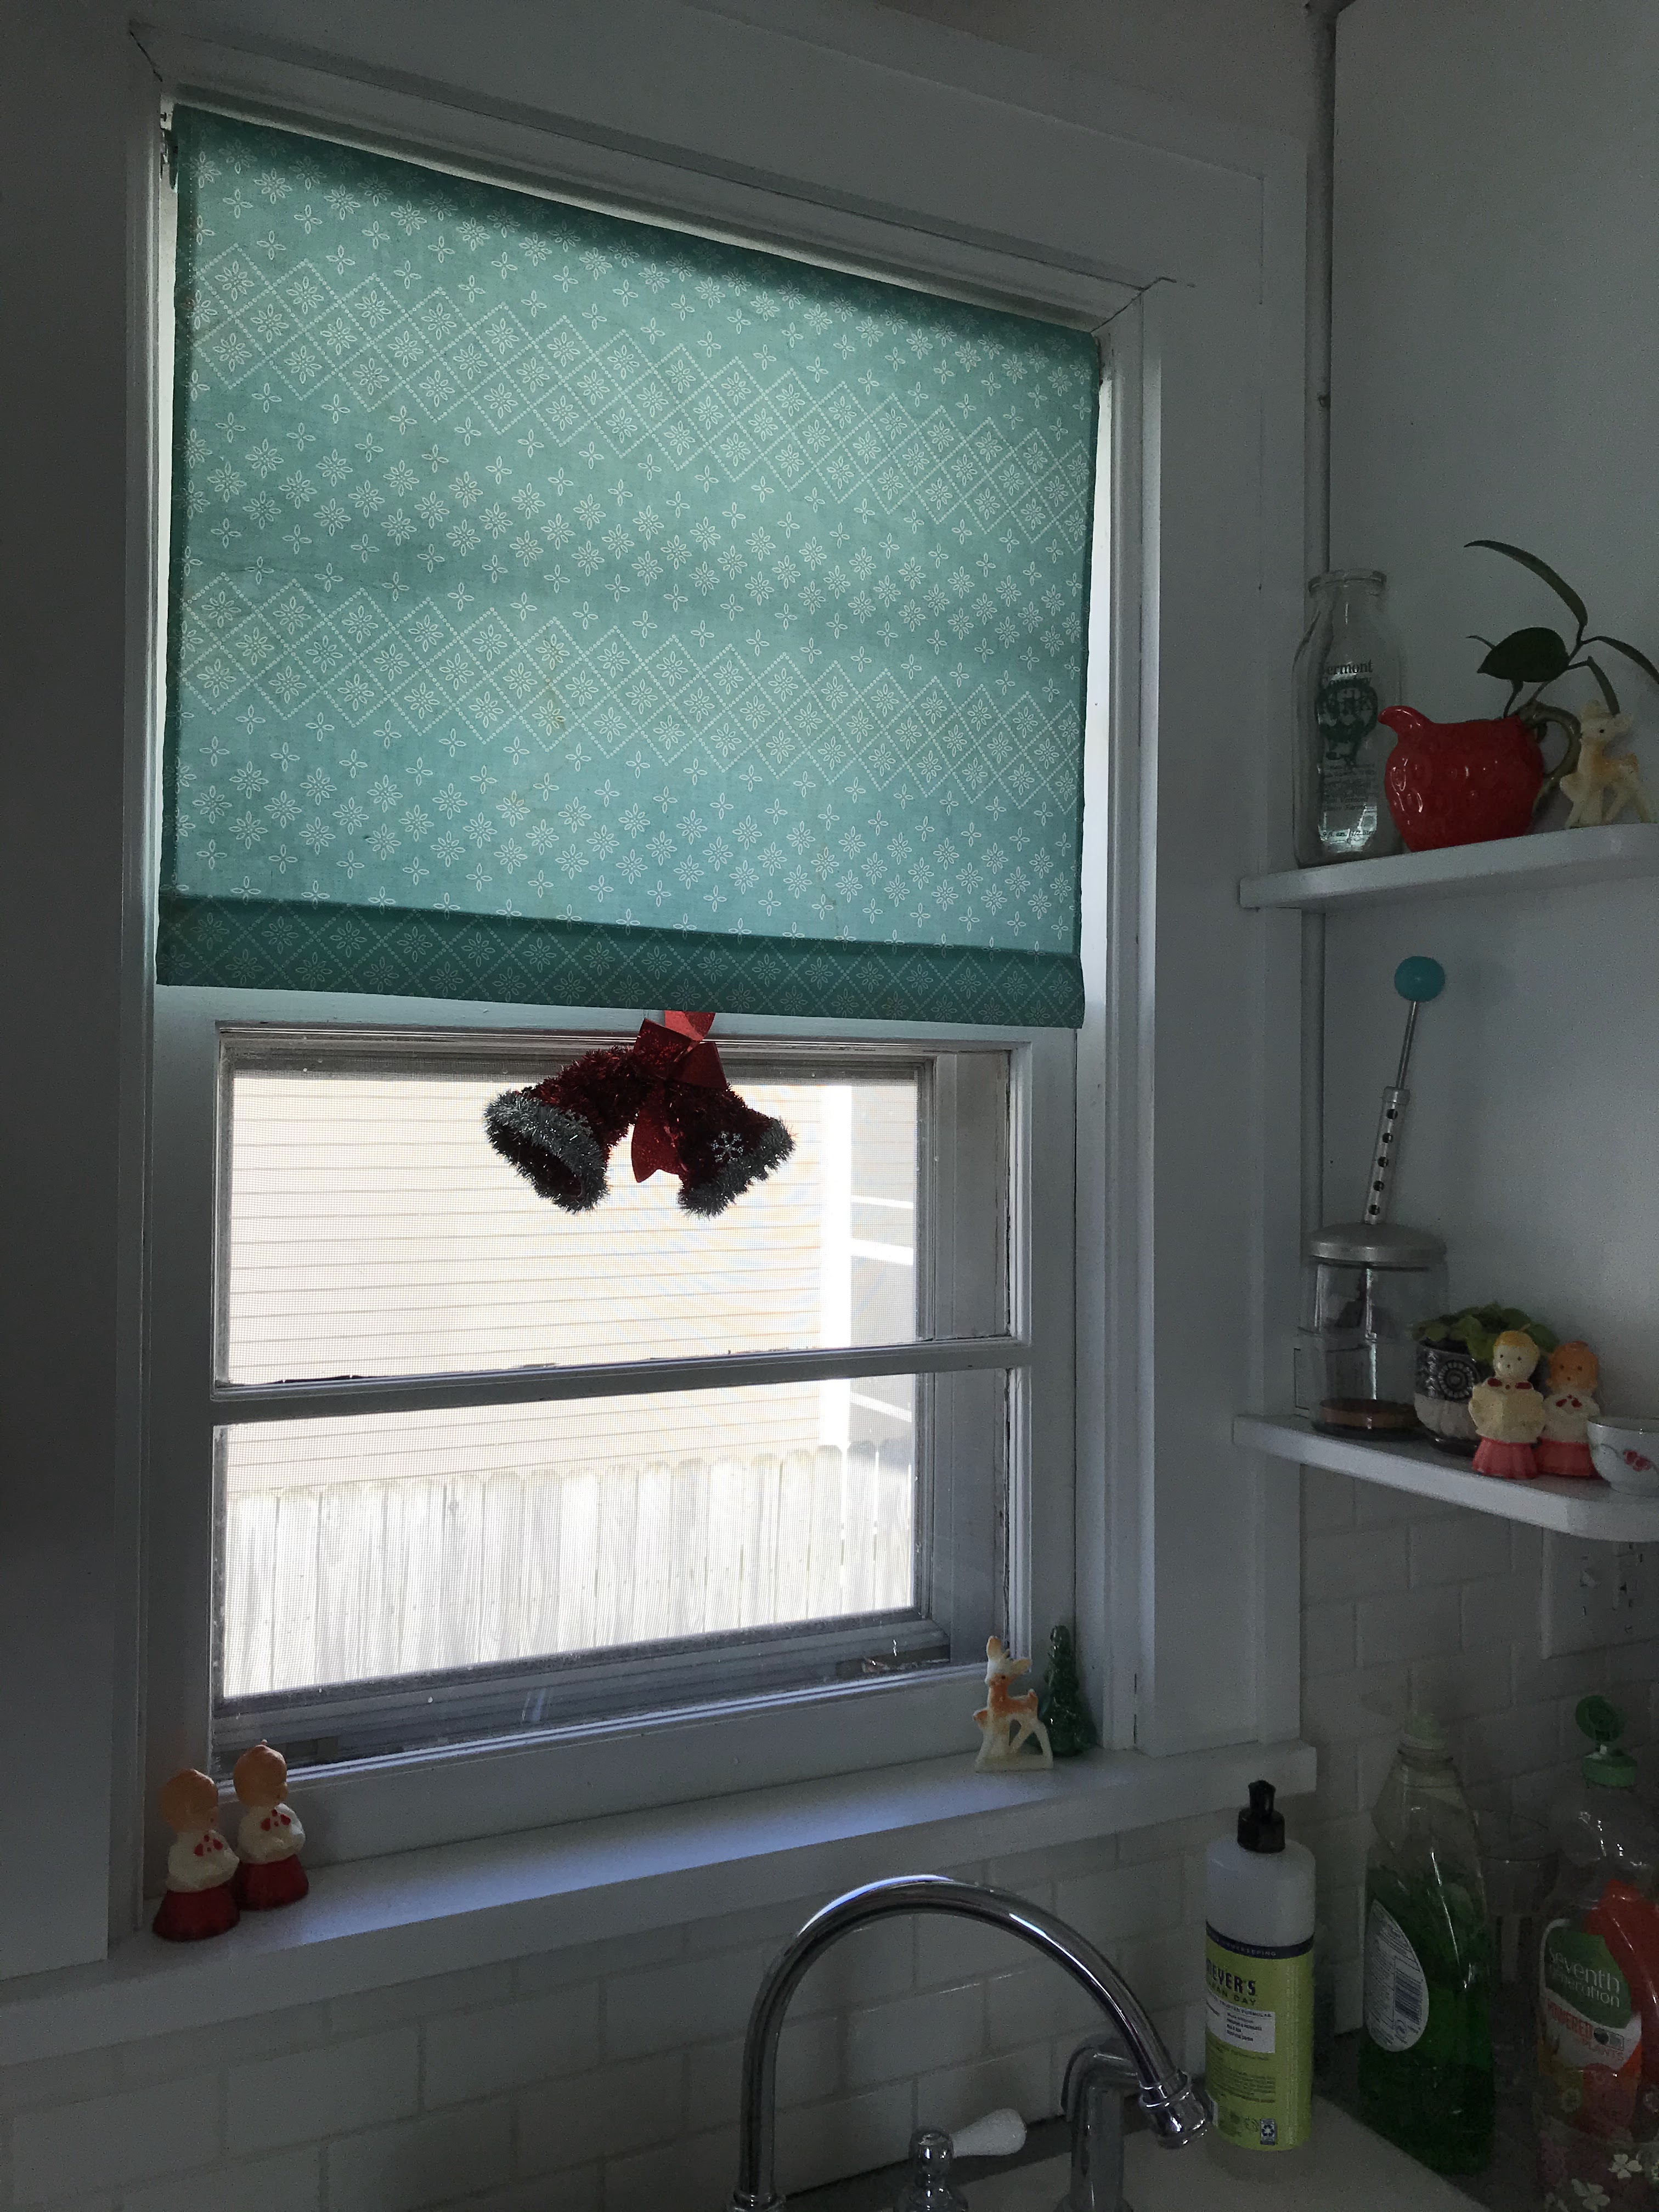
We also decided the kitchen window shelves would be the perfect place for our vintage candle collection!


They are just so cute!


This year all the nieces and nephews will be here for Christmas. All seven! (Two new additions this year!) With all the chaos that is sure to be, we decided to go with a smaller tree and only a few Shiny Brites at the top. We all wanted to enjoy the craziness with out constantly having to remind excited kids to be careful of the ornaments.

I did dig out our couple of vintage metal bell ornaments. Prefect and very unbreakable!

Mom also found these new metal bells at IKEA. Once we started looking around we had quite a treefull of lovely unbreakables.


Turned out quite pretty didn't it? The local nieces and nephew helped make snowmen ornament balls, so at lest we have a bit of a Shiny Brite look!


The front porch is bright with red as usual. Mandy found the prefect door mat this year! It brings everything together so nicely.


Hope you have a peaceful and healthy Christmas season! It already feels a little hectic doesn't it? So much making and baking, decorating and cleaning to do! I only got a mini tree up in my room this year, but at lest it is something! 

Wednesday, November 11, 2020

Vintage Curtains for My Bedroom

I gave my bedroom a good fall cleaning a couple of weeks ago. Shuffled the furniture a bit and then decided I needed new curtains! After a bit of thinking and trying to decide what I would want, I remembered I had a vintage curtain I picked up at an estate sale (Back in 2015! I blogged about it here.).
 

I was just one curtain panel and two valances, but it was made up of two pieces! And those two pieces happened to be almost the same size as my old curtains! So a bit of unpicking and an old sheet for lining and I have new curtains!

I love this print! My favorite colors, a bright light background and definitely a vintage flair!

 It also happens to go really really well with the new summer quilt I am working on. You can see the quilt top to the left in the picture above hanging on the wall.


It just goes to show you can't go wrong buying things you love!

Thursday, October 29, 2020

Happy 8th Anniversary Little House!


Can you believe it has been eight years!?! Goodness. Eight years. So much life lived.... Especially this year with all that has happened, it has reminded me how very important Home and Family is. I have always been so very very grateful for this little house. It has truly been our haven and safe sanctuary.


"We shape our buildings; therefore they shape us." ~Winston Churchill

This little house has also shaped me, in so many ways. How could it not! An intense year long renovation, a thousand and one decisions (for a person who hates making decisions this was really hard!) time and resources stretched to the limit and family who was always there to push and prop me up. It has taught me so much; so many house skills, how to manage time and money better, how much I am really capable of when I put my mind to it and opened up un-dreamed of avenues!


Eight years ago I wasn't really dreaming of being a landlord of multiple properties. I had a possible plan that this little house might be a rental if things didn't work out as I hoped, but I sure wasn't thinking as far ahead as having a house and two rental properties! That would have been very over whelming! 
Do you see the house to the left of my Little House? That is Sister House. She is almost identical in floorplan as my house and joined the family in August!


I wasn't really planning on buying another house this year, but the neighbor who owned it was ready to sell and I couldn't say no! I have had a dream of owning Sister House almost as soon as I got settled in my house! Sister House has been a rental for the last twelve and came with renters, so no remodeling yet. I have been trying to content myself with sprucing up the yard and tiding up the back yard. I can't wait to tackle a few more outside projects next spring!


Now on to this year's Have-Done-List!
If you are new here, every year I list out projects I have completed. I started this tradition the first year as a way to show myself that progress was indeed being made!

Most of last year was taken up with installing a boiler and radiators and dealing with projects it created. It started last October with pulling out all the old ductwork, 
By the end of January we had the boiler and radiators installed.


In April I also patched the entry ceiling. To run the upstairs radiator we had to cut a pretty large hole in the entry ceiling.

Then it was on to adding another layer of Shellac to the floors in June. 

Not the longest of lists, but the boiler was a major project! I still haven't patched the heat vents and trim. I am saving that for a long winter project!


"He who loves an old house never loves in vain.
How can an old house used to sun and rain,
To lilac and larkspur and an elm above,
Ever fail to answer the heart that gives it love?"
Isabel Fiske Conant


Friday, July 24, 2020

Living Room Updates 2020


I thought it would be a good time to share more pictures of the living room, especially since we just got a new rug! Now, that sounds simple but of course there is a long Rug Story!


It has taken us about a year to find one we like! I know! We are particular. It had to be soft, plushy, but not to thick, not too dark, busy or too light colored. Nothing that would clash with the curtains, which was the biggest problem! We looked at so many! But I think we only tried five.... Still that seemed like a lot! 
Before I forget to mention, we finally decided on the Mohawk Marrakesh Damask. Mom loves the Mohawk brand and it is made in the USA! (We still had to air it out on the front porch for a week before bringing it inside. Not sure why rugs have to stink so much!)


We actually start looking for a new rug last summer as our old one didn't recover from a washing. But we were ready for a new one and it was starting to look sad and worn. In the fall, right before we started the radiator project we tried out a couple of rugs and didn't like any. Then we decided to post-pone a new rug as it was a bit of a construction zone! (I think Kerri Dog missed having a rug!)

We did learn things from our first batch of rug trials. The curtains kind of clash with any pattern, navy blue was too dark on the dark floors, and rug shopping is hard work! Lol!
This rug comes in a couple of different colors and I hadn't realized at first that last fall we tried the navy blue one (which is the only color our local Lowes carried.) So glad I took another look online and found this one! 


This wall is still rather blank... but I am thinking on it! 


Monday, June 29, 2020

Renewing Floors- 2020 Edition

Guess what we did this weekend?!? 
Yes, we shellacked the floors again! The last time was back in.... 2014! I just checked and if you are interested HERE is the link to the post about it. Goodness! All things considering the floors have held up great for six years. 
Other floors posts can be found here and here.


As you can see, there was worn patches and scratches. And I probably should have done this last year, but I had just finished up the Brick House floors and wasn't really ready to tackle more floors. That turned out to be okay as moving the radiators around put a few more scrapes and scratches in the floors. Not to mention the patching of the cold air returns.

There is something refreshing about moving all the furniture out and cleaning the floors and baseboards really well. (Actually, the dining room table, bookshelf and the sofa stayed. Everything else we managed to cram on the front porch and in the bedrooms!)
Part of this project was also redoing the little hallway floor. I never liked how it turned out, but since it was a small portion of the floor we just lived with it. Above  is the "after" with finish on it. It was quite the process to get there!

This is what I started with. I hadn't realized how scratch up it was. And obviously I needed to blend the patch with the rest of the floor.

The first step was to remove the current finish which was shellac I had put on it 2013. I tried not to use a sander as the dust gets everywhere. Instead I tried scraping it by hand with a vintage Stanley 82 scraper. It worked fairly well, but was very slow on taking off the finish. So I eventually got out a small belt sander.

Because this is maple which I tried to stain, the belt sander wasn't evening it out very well and I ended up doing a final sanding by hand with 50 grit sand paper, then hand scraping it thoroughly to smooth it. This method worked very well and I felt like it was a reasonably good place to be. I wasn't ready to spend another week sanding to try and get down below all the stain.

 The first coat was a light amber button shellac similar to what I used at the Brick House (a detailed post here). I used the same button type shellac from www.Shellac.net , just in a different shade. Yes, shellac comes in different shades! It just depends on how dark you want your orange. Lol! There isn't too much difference between the shades, but it is nice to have options.

And this is with the next coat of shellac which I put Brown Mahogany dye in. (Also from Shellac.net). I love how the dye worked! It is still a bit blotchy from the previous stain job and old sanding marks. I am not sure if it that much different from how it started, but at lest the cold air patch is blended a bit more! And the tone matches better.

  At the same time as putting the first coat on the hallway, we put a coat on the dining room. You can see the line in the picture above of "coated" and "uncoated". The button shellac is so different from the pre-mixed shellac you buy in the store. I know it is hard to tell in this picture, but the buttons are a lot less shiny, it also dries faster and harder. And for some reason not as glossy smooth. Still trying to figure that one out....

I love the afternoon sun coming in the piano window! Just waiting for everything to dry!


 We have been enjoying a clean and uncluttered look!


Now we are working on finding a new rug we like and wall art. This long wall has kinda been a stumper!