Thursday, March 13, 2014

Hexagon Quilt Update #3

 I just finished off 40 hexagon flowers! I don't know how many months ago it was I posted that I wanted to finish this batch up before starting on the new fabric.
 Last night I sat down and cut out a bunch more hexagons. Hopefully I will stay motivated! It is the perfect spring quilt, the colors are so cheerful!
 It has been so nice to have a little time to sew and I am so looking forward to getting my sewing room organized. I keep working at it little by little. Of course, that doesn't mean I can't sew in there right now, it just means it is harder to find things!
Previous Hexagon Quilt Posts:

Tuesday, March 11, 2014

The Saga of the Four Inch Double Tee


My beloved 1920s cast iron sink. Someday it might go in the kitchen, right now it is our utility sink. Perfect for wash large pots and roaster, boots, planters and wool sweaters(we have a tub that fits perfectly under the faucet). It was a craig's list find. My Great Aunt had one, and oh how we always envied her! I know my basement walls are gross, try not to look at them. One of this summers projects, wash and paint the walls!

So what does my sink have to do with a Double Tee? See all that plumbing to the right of the sink? This is the story.
It all started way back in May......
During plumbing week we ended up at Lowes 7 times and the local hardware store 5 times. We also made a trip to Home Depot, which is where the Double Tee comes in. When it comes to plumbing, you try and be prepared, but it doesn't usually happen. Especially with an old house, no matter how you try and plan it out and prepare for all eventualities, it just doesn't work. 
Plumber Phil had a certain fitting in mind for the plumbing next to the sink. Unfortunately, Lowes didn't have it. As we were going to Home Depot anyway (to return the bathtub), Mandy and I thought we would take a quick stroll down the plumbing aisle and see if we could find it. After looking and looking, Mandy finally spied what we thought Phil was looking for! We were so excited! We drove home gloating in triumph thinking how proud Phil was going to be of us. 
This is what a Double Tee looks like. It is huge. About 14" wide.

Upon rushing to the scene of the plumbing dilemma we saw the drain pipes completely installed and the only comment we got from the plumber "They really make a fitting like that! I didn't think you were going to find it. I figured out another way."
Needless to say we were a little deflated.

Now what to do with this THING! In all the hustle and bustle of May I threw it in the trunk of the car to deal with later. Quite a few weeks later I was rounding up odds and ends that we weren't going to use to return to Lowes and not thinking threw the Tee into a bag and took it along. After all the craziness of May I didn't even remember where I got it until the cashier asked if I was sure I had bought it here as it wasn't coming up in the system!?! Have you ever done that? Very embarrassing......
I forgot to mention, the label on the tee was roughed up. It took about 15 minutes for the cashier to finally figure this all out, after she spent 5 minutes trying to look it up in the database and 10 minutes waiting for the plumbing department to not find it.
After another few weeks/months of shuffling it around in my trunk and being asked numerous times "what is this doing in here?" I finally made it back to Home Depot. It was now a familiar routine of trying to scan, squinting at the tag, trying to look it up, waiting for the someone to look it up. While we were waiting for the verdict to come back, a man waiting behind us exclaimed "Wow! That is a crazy looking pipe, what is it for?".

I am so glad it is out of my hands now......... My sister Becky loved the story and thought I share it. She even suggested going back to the store and taking a picture of me holding the tee!!

Do you remember this ad from Good Housekeeping?

Thursday, March 6, 2014

Ticker Tape Quilt

 I decided to take a small break from knitting and have been sewing. Quilting to be more precise!
This quilt is based on the Ticker Tape Quilt from Sunday Morning Quilts by Amanda Jean Nyberg and Cheryl Arkison. Fabric is Odds and Ends by Cosmo Cricket, a fabric line by Moda. Finished size 45" x 60". (Just in case someone needs all the gritty details!)
This quilt came to be because of a Christmas gift. I gift of a quilting book for my sister and fabric for myself! I just loved these little squares! They all came pre-cut with cute little pinked edges. After drooling over my sisters new quilting book I was inspired to quilt!
 
I love the mix of floral, polka dots, stripes and prints. As hard as I tried some of the squares managed to wiggle around a bit......
Traditionally, this kind of quilt is made by putting together the top, batting and backing, then the squares are sewn on through all layers, thus quilting the quilt at the same time. I decided to sew the squares to the top layer first, then layer together with batting and backing and quilt like a normal quilt.
Some of the squares are sewn on multiple times, some just once and then quilted. I played around with a random look.
Polka dots for the backing using fabric from the same line.
It only took me a year to finish this one. Sometimes I am not the greatest at getting quilts finished! I so enjoyed making it though, it was a bit of a lifeline last year when life was so chaotic.

Tuesday, March 4, 2014

Brown Striped Apron

This is one of my newest additions to the collection. I simply love the way the stripes are used! Horizontal in the center and vertical on the sides.
As I was browsing around the antique shop a little gray haired lady came up and asked to see the apron I was carrying around. We had a nice little chat on the popularity of the apron and how easy they are to make. She was so cute!

The construction is lovely. Double stitching, hidden pocket, ric-rac inserted in the seams.....

A view of how the apron is made of three panels.

P.S. Would you like to see a pattern for this apron? I think it is going to be an Apron of the Month!!

Tuesday, February 25, 2014

February 2014

I haven't post many outdoor pictures this year. It has either been too gloomy or too frigid to be out more then a few moments. This picture was taken about ten days ago. Arctic looking, isn't?
Kerri dog walking in the park, wearing just as many layer as we are!
 I am glad to say the weather has gotten a bit better since these pictures where taken. The sun has come out, the temperature warmed and the snow has compressed. We can actually see bare sidewalks now!
The view from my bedroom window with lovely morning sunlight.

Friday, February 21, 2014

Dorothy Apron Tutorial

To make the Dorothy Apron you will need:
3/4 of a yard fabric or 3 fat quarters or 1/2 yard each of coordinating fabrics
1 package or 3 yards binding
Dorothy Pattern
When printing the pattern make sure you choose "Actual Size". You might also have to choose a borderless paper option under Page Setup.

If you are making a Dorothy Apron with the contrasting skirt, you will need to cut five skirt sections in your main fabric and four in your contrasting fabric. Cut waistband and ties in main fabric.

 Sew side seams of skirt pieces together matching notches.

 Hem back edge of apron skirt.

 Hem or bind bottom edge of skirt. 
I would recommend binding, hemming the scallops are a pain! If, like me, you think the apron would look better hemmed, here is a few pointers.

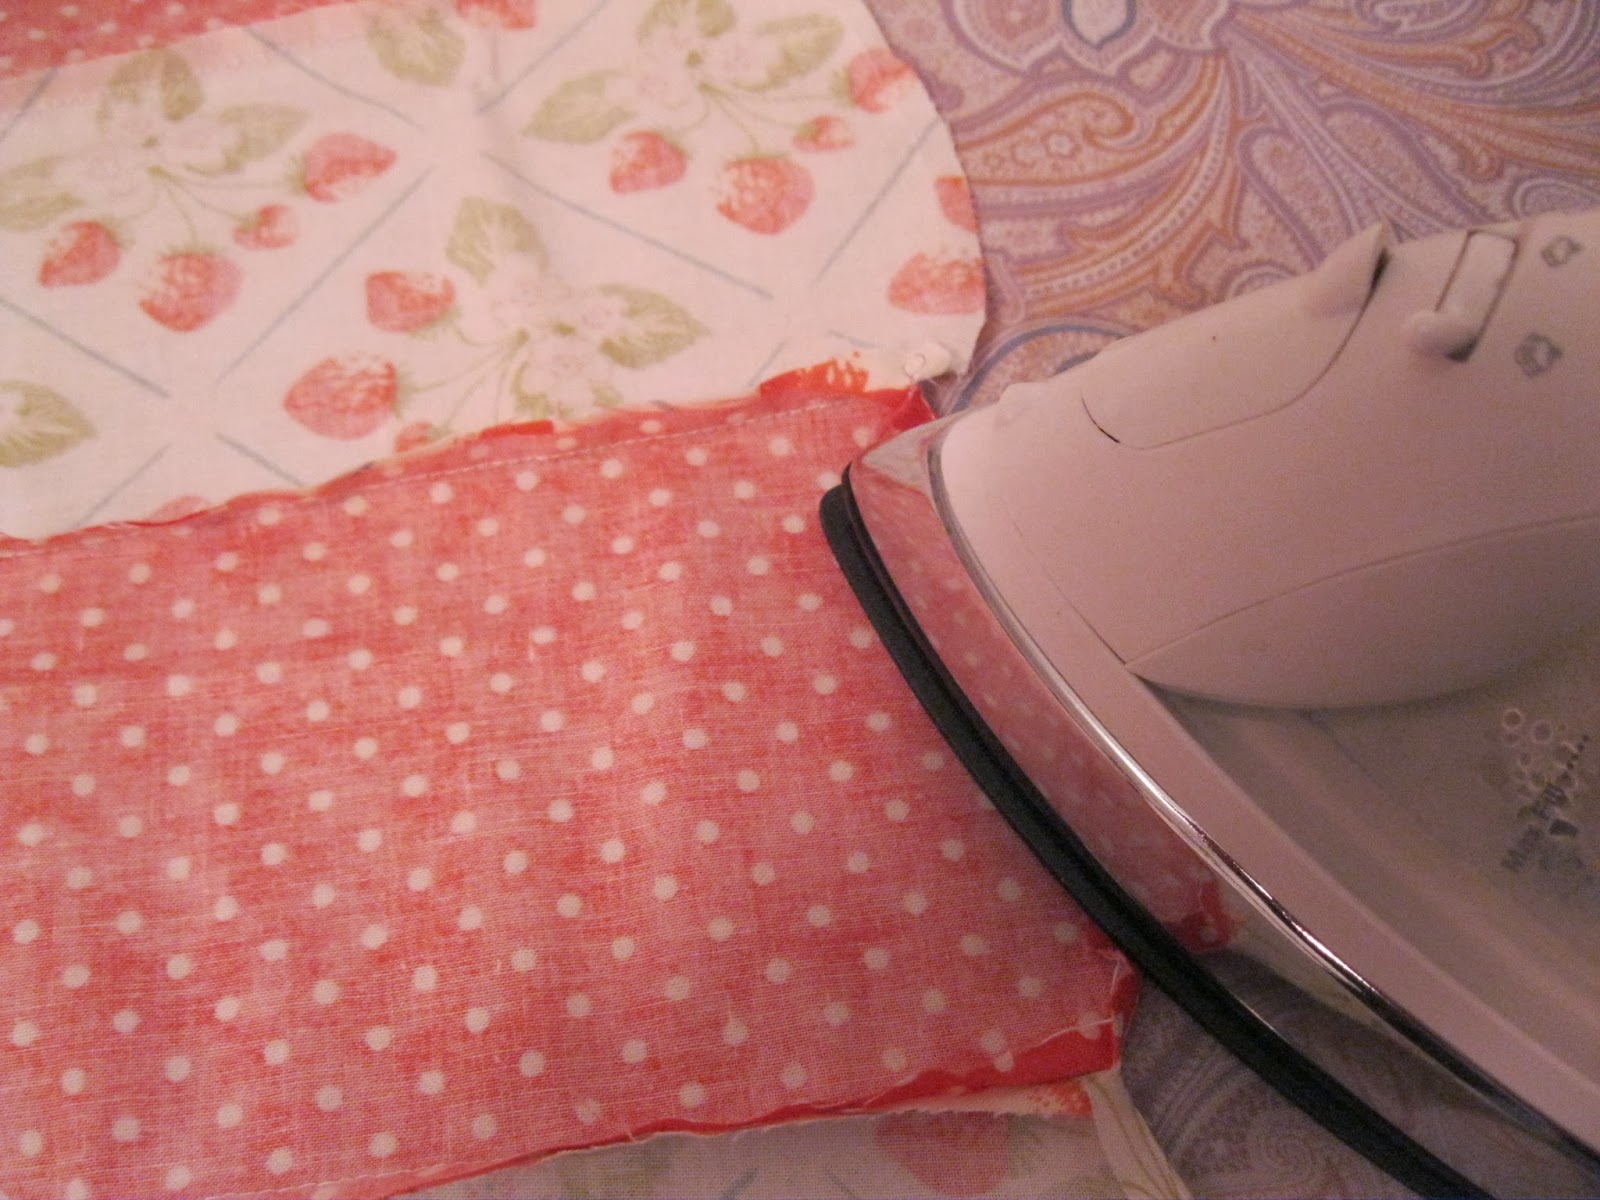
First I basted around the scallops 1/4 inch from the edge, then I turned up and ironed it. Working very carefully, ironing about half an inch at a time. Flip over occasionally to check hem shape, you don't want and points. After the ironing is done I stitched around the hem from the right side. That was my method. I was happy how it turned out, but would have been happier if I could have done it a different way. There are really only three ways to finish scallops off.
Binding; Hemming, like I did; or Facing, which I didn't have enough fabric for.

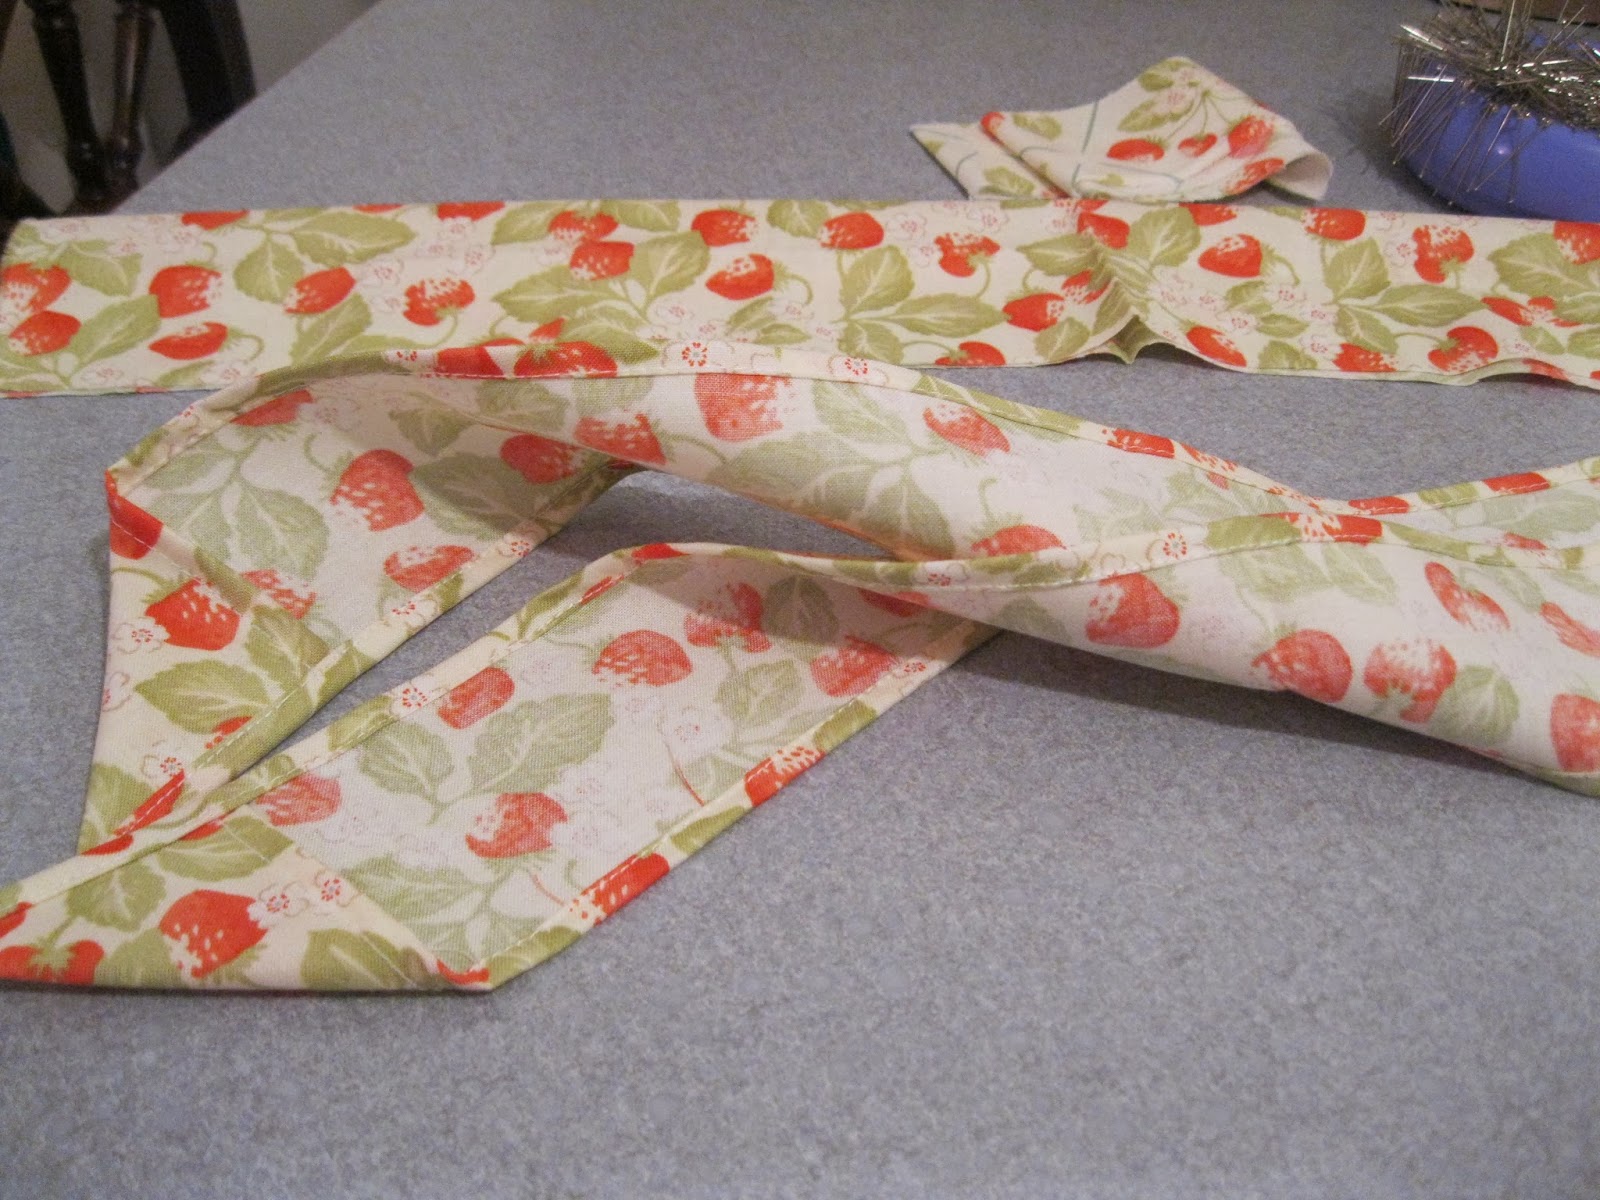
Now it is time to move on to the waistband and ties. Narrow hem around edges of tie leaving one short edge un-hemmed. Fold hemmed ends of ties diagonally to create points and sew down.

 Fold waistband in half long wise and iron. Pin ties to each end of waistband between fold and edge right sides togther. Remember to leave 1/4" seam allowance! Sew waistband side seams.

Pin and sew one long side of waistband along skirt top edge, easing to fit. Fold waistband right side out and fold 1/4" seam allowance under on raw edge pinning to seam allowance of skirt/waistband seam. Sew down. I stitched in the ditch on the right side, but you can also top stitch or hand stitch down.

You now have a Dorothy Apron!
Enjoy!

Thursday, February 20, 2014

February Apron of the Month


I am so so excited to be introducing to you an Apron History Pattern and 
February Apron of the Month!
the

She is a darling little waist apron based on a 1940's pattern with a scalloped hem. I think I had a bit of spring fever when I started planning this project. The minute I decided on the pattern I knew this was the fabric to use!  
Dorothy is actually made up of three fat quarters. Of course I had to do a little old fashioned make-doing to get all the pieces to fit! If you look very closely right behind the bow in the above picture, you can see where I had to piece the waistband.
Here you can clearly see there are actually three different fabrics in the apron. One for the ties and waistband, and two contrasting for the skirt.
 Tomorrow I will post pictorial  directions for making up Dorothy. I have included simple directions in the pattern too.

Enjoy!