

3/4 of a yard fabric or 3 fat quarters or 1/2 yard each of coordinating fabrics
1 package or 3 yards binding
Dorothy Pattern
When printing the pattern make sure you choose "Actual Size". You might also have to choose a borderless paper option under Page Setup.

If you are making a Dorothy Apron with the contrasting skirt, you will need to cut five skirt sections in your main fabric and four in your contrasting fabric. Cut waistband and ties in main fabric.

Sew side seams of skirt pieces together matching notches.


Hem or bind bottom edge of skirt.
I would recommend binding, hemming the scallops are a pain! If, like me, you think the apron would look better hemmed, here is a few pointers.
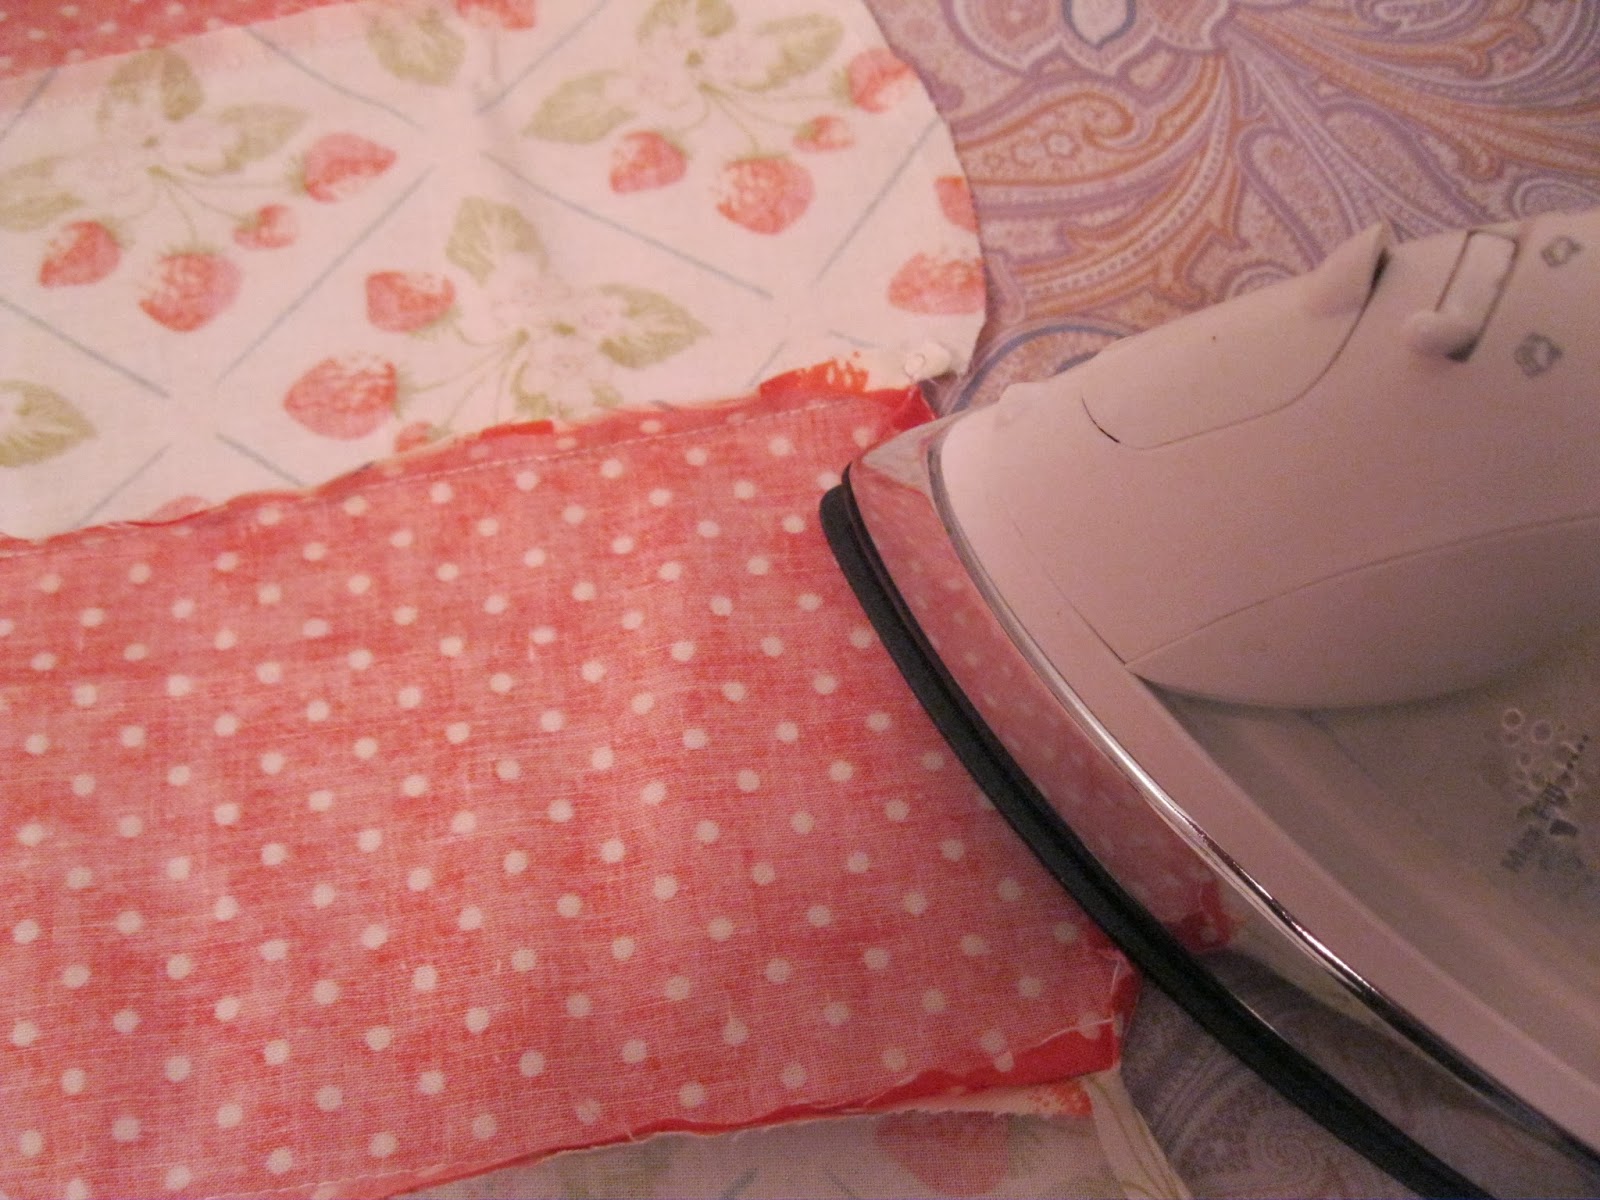
First I basted around the scallops 1/4 inch from the edge, then I turned up and ironed it. Working very carefully, ironing about half an inch at a time. Flip over occasionally to check hem shape, you don't want and points. After the ironing is done I stitched around the hem from the right side. That was my method. I was happy how it turned out, but would have been happier if I could have done it a different way. There are really only three ways to finish scallops off.
Binding; Hemming, like I did; or Facing, which I didn't have enough fabric for.
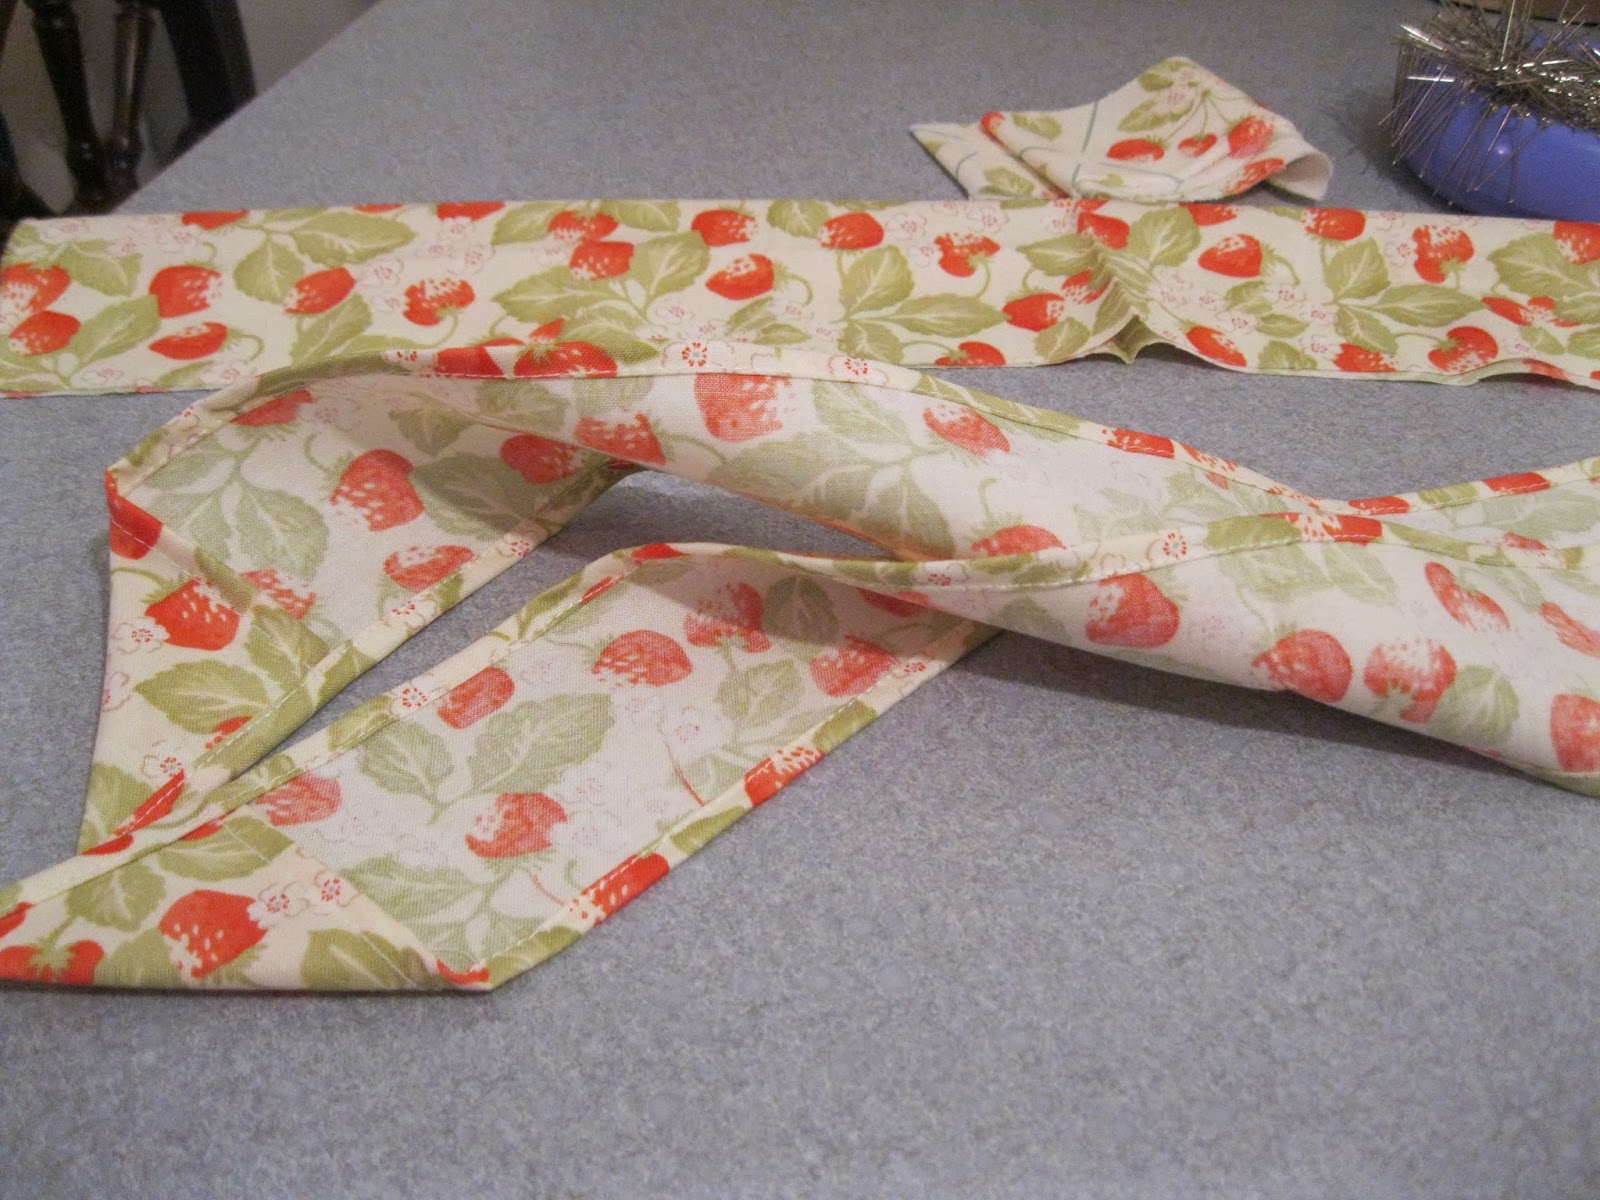
Now it is time to move on to the waistband and ties. Narrow hem around edges of tie leaving one short edge un-hemmed. Fold hemmed ends of ties diagonally to create points and sew down.
 Fold waistband in half long wise and iron. Pin ties to each end of waistband between fold and edge right sides togther. Remember to leave 1/4" seam allowance! Sew waistband side seams.
 Pin and sew one long side of waistband along skirt top edge, easing to fit. Fold waistband right side out and fold 1/4" seam allowance under on raw edge pinning to seam allowance of skirt/waistband seam. Sew down. I stitched in the ditch on the right side, but you can also top stitch or hand stitch down.
You now have a Dorothy Apron!
Enjoy!
You now have a Dorothy Apron!
Enjoy!
Adorable!
ReplyDeleteThank you for the tutorial...I love tutorials of all kinds but what a darling apron that is....too cute and I love the fabrics you chose.
ReplyDeleteBeautiful. I plan to make this one. :-)
ReplyDeleteThat is lovely! You are so talented!! :-)
ReplyDeleteYou make it look so easy! I plan to face the scallop edge, I think. I'll let you know how it turns out. Didn't get to sew this weekend. Too cold upstairs. Will winter ever be done with us? lol Off to Pinterest to pin this tutorial. You make it so easy, I'm sure others will appreciate it.
ReplyDeleteHugs,
Dru