Tuesday, February 25, 2014

February 2014

I haven't post many outdoor pictures this year. It has either been too gloomy or too frigid to be out more then a few moments. This picture was taken about ten days ago. Arctic looking, isn't?
Kerri dog walking in the park, wearing just as many layer as we are!
 I am glad to say the weather has gotten a bit better since these pictures where taken. The sun has come out, the temperature warmed and the snow has compressed. We can actually see bare sidewalks now!
The view from my bedroom window with lovely morning sunlight.

Friday, February 21, 2014

Dorothy Apron Tutorial

To make the Dorothy Apron you will need:
3/4 of a yard fabric or 3 fat quarters or 1/2 yard each of coordinating fabrics
1 package or 3 yards binding
Dorothy Pattern
When printing the pattern make sure you choose "Actual Size". You might also have to choose a borderless paper option under Page Setup.

If you are making a Dorothy Apron with the contrasting skirt, you will need to cut five skirt sections in your main fabric and four in your contrasting fabric. Cut waistband and ties in main fabric.

 Sew side seams of skirt pieces together matching notches.

 Hem back edge of apron skirt.

 Hem or bind bottom edge of skirt. 
I would recommend binding, hemming the scallops are a pain! If, like me, you think the apron would look better hemmed, here is a few pointers.

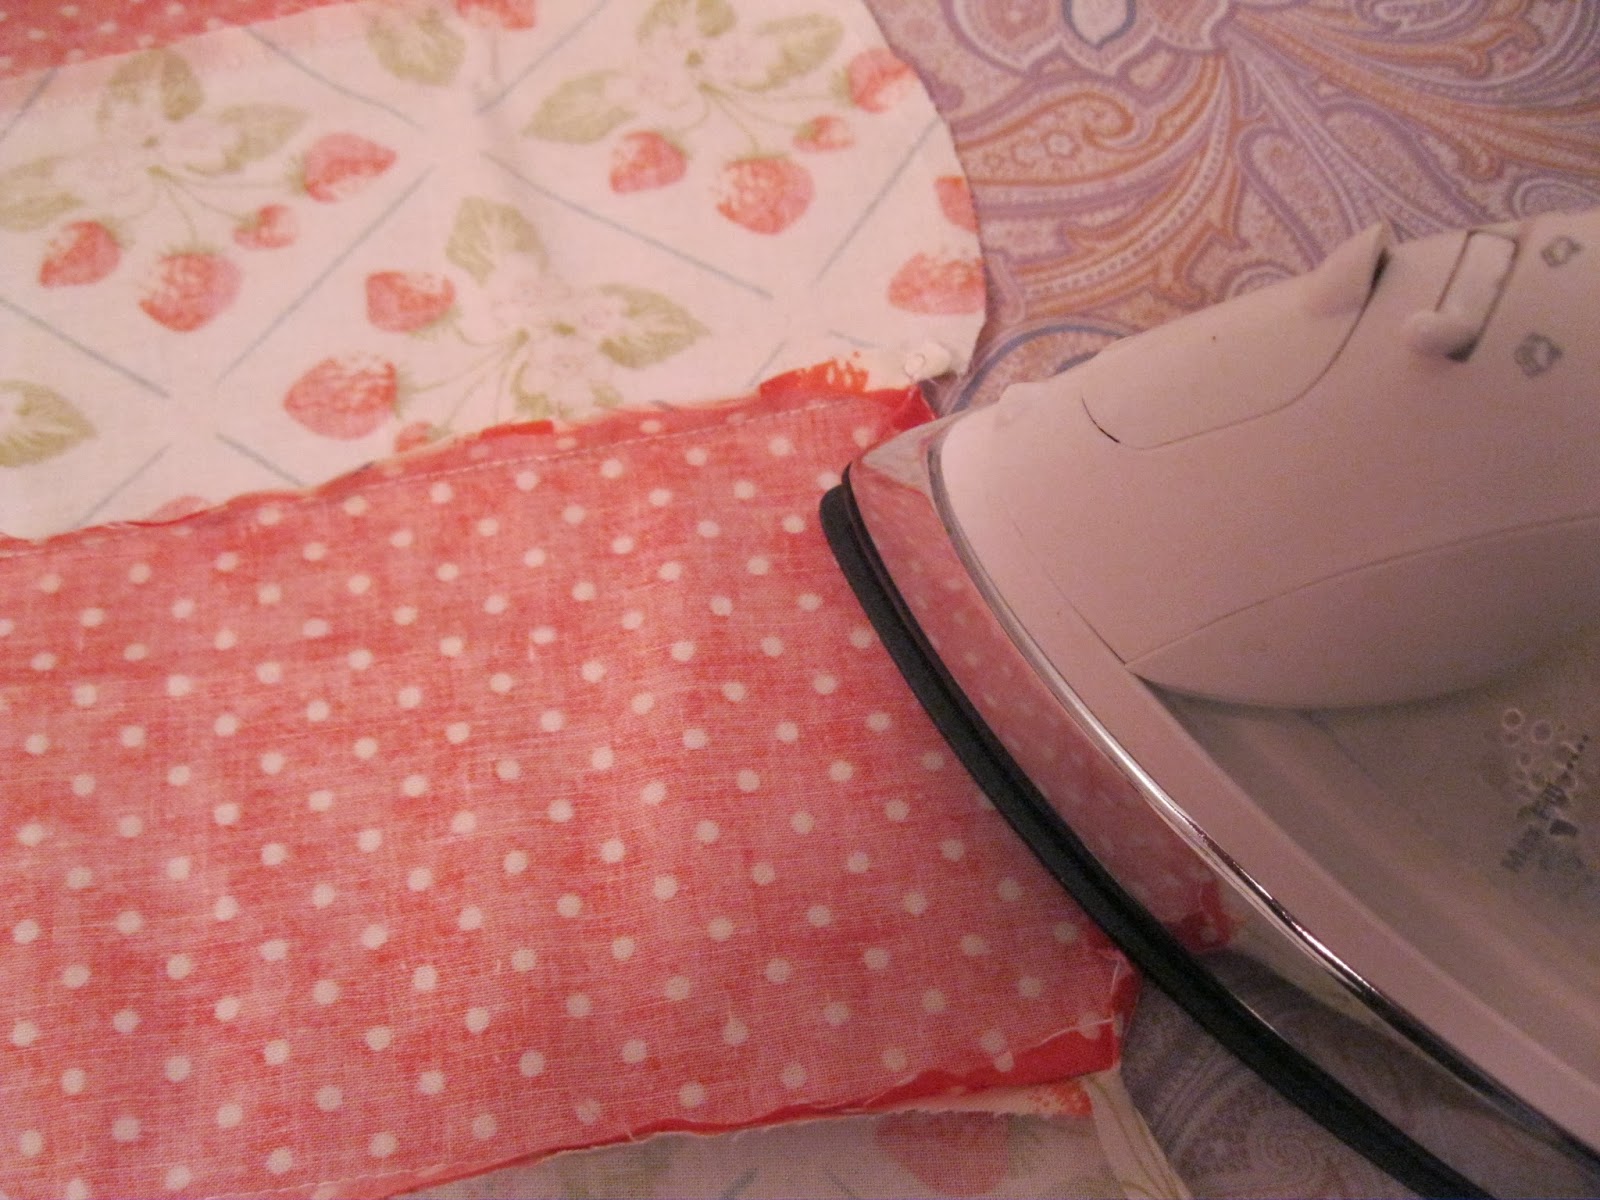
First I basted around the scallops 1/4 inch from the edge, then I turned up and ironed it. Working very carefully, ironing about half an inch at a time. Flip over occasionally to check hem shape, you don't want and points. After the ironing is done I stitched around the hem from the right side. That was my method. I was happy how it turned out, but would have been happier if I could have done it a different way. There are really only three ways to finish scallops off.
Binding; Hemming, like I did; or Facing, which I didn't have enough fabric for.

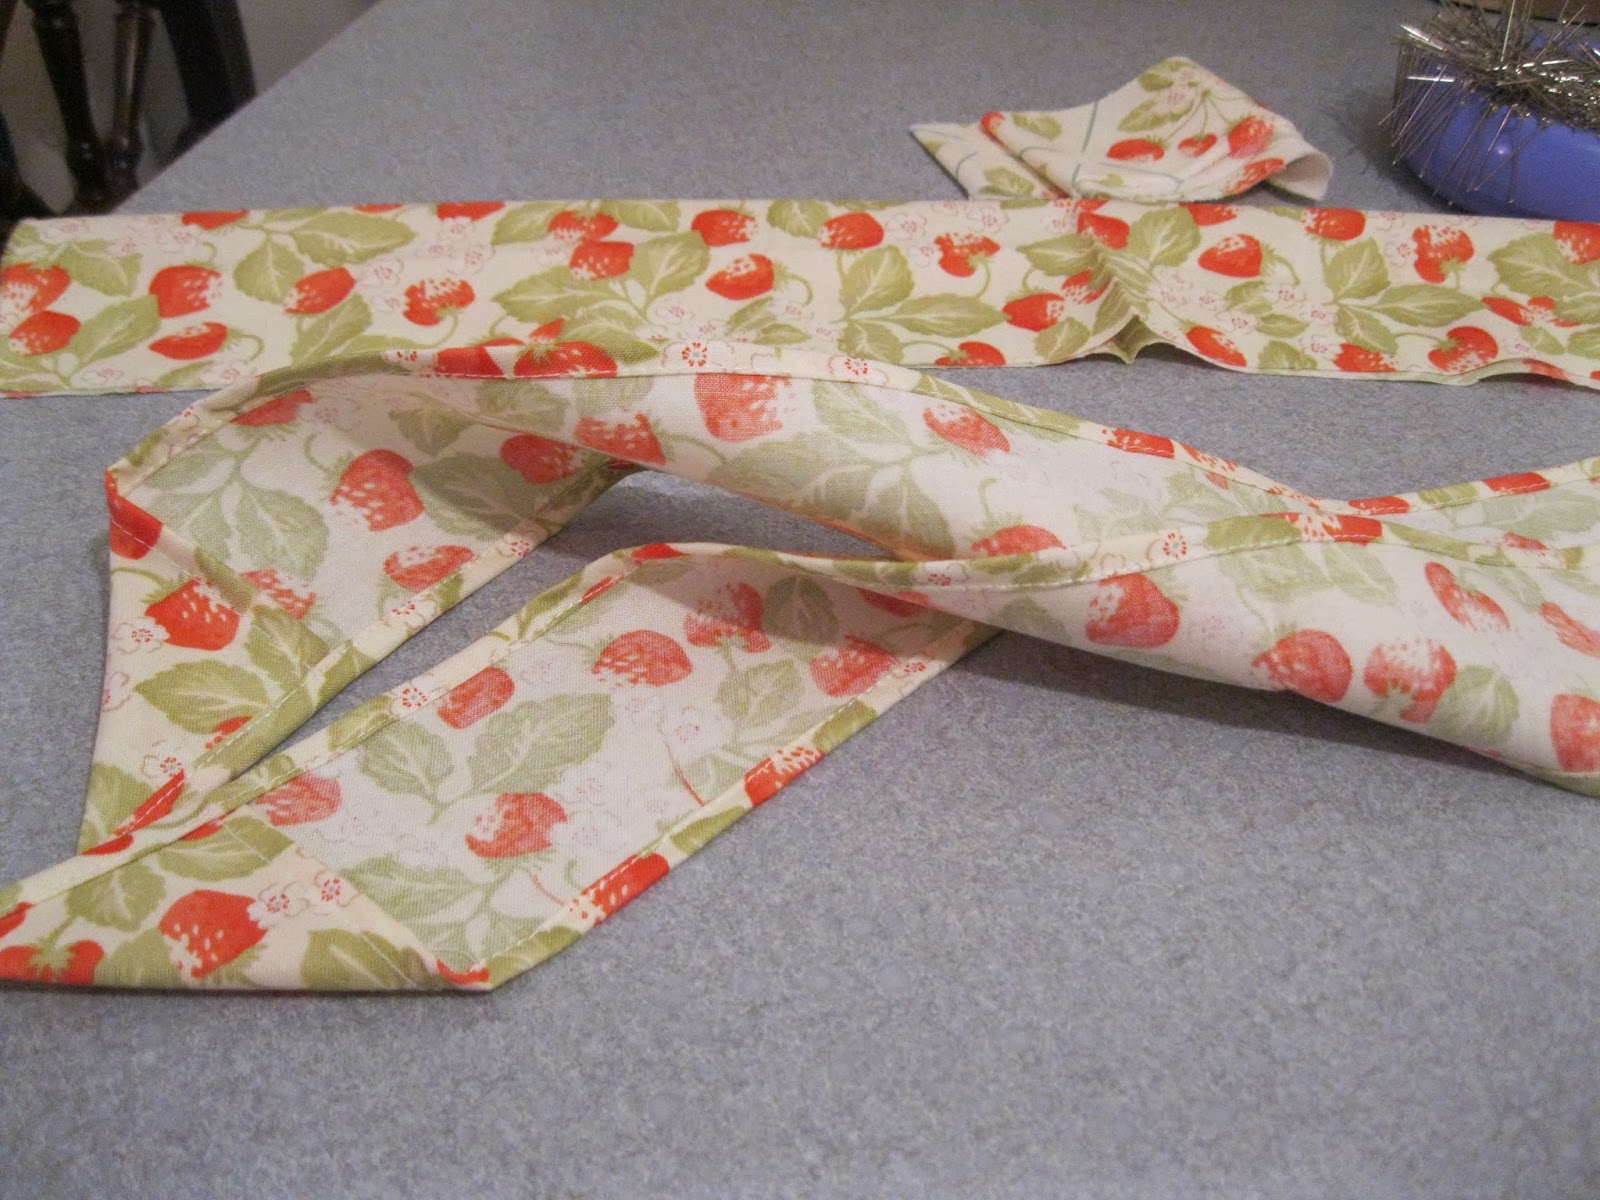
Now it is time to move on to the waistband and ties. Narrow hem around edges of tie leaving one short edge un-hemmed. Fold hemmed ends of ties diagonally to create points and sew down.

 Fold waistband in half long wise and iron. Pin ties to each end of waistband between fold and edge right sides togther. Remember to leave 1/4" seam allowance! Sew waistband side seams.

Pin and sew one long side of waistband along skirt top edge, easing to fit. Fold waistband right side out and fold 1/4" seam allowance under on raw edge pinning to seam allowance of skirt/waistband seam. Sew down. I stitched in the ditch on the right side, but you can also top stitch or hand stitch down.

You now have a Dorothy Apron!
Enjoy!

Thursday, February 20, 2014

February Apron of the Month


I am so so excited to be introducing to you an Apron History Pattern and 
February Apron of the Month!
the

She is a darling little waist apron based on a 1940's pattern with a scalloped hem. I think I had a bit of spring fever when I started planning this project. The minute I decided on the pattern I knew this was the fabric to use!  
Dorothy is actually made up of three fat quarters. Of course I had to do a little old fashioned make-doing to get all the pieces to fit! If you look very closely right behind the bow in the above picture, you can see where I had to piece the waistband.
Here you can clearly see there are actually three different fabrics in the apron. One for the ties and waistband, and two contrasting for the skirt.
 Tomorrow I will post pictorial  directions for making up Dorothy. I have included simple directions in the pattern too.

Enjoy! 

Tuesday, February 18, 2014

A Quilted Apron Collection

I absolutely fell in love with all the quilted aprons in Erika Mulvenna's (Miss-Sews-It-All) collection. Very inspiring! 

Are you getting excited about the February Apron of the Month coming soon?! I am!

Friday, February 14, 2014

How about a bit of Pink?

In honor of Valentine's Day I thought I would share a few of my favorite pink sewing patterns. Aren't they beautiful?


Happy Valentine's Day!

We loved our Christmas Poinsettia wreath so much, that I removed the flowers (held on with straight pins) and made hearts so we could leave it up longer.
I love how it looks in the dinning room window. And I finally figured out the best way to photograph it, at night. 

Thursday, February 13, 2014

Pssst...... pass the word

 For those of you who are knitters I thought you would like to know I have published a free mitten pattern on Ravelry. It is very exciting, we have had so much fun watching the statistics!
I named them North Woods Mittens as they are double layer and very warm and cozy! They have been our favorite mittens this year! To find the pattern and more details visit Ravelry.
Here you can see one mitten inside out, with a scrappy sock yarn inside layer.